 UniFi
UniFi Omada
Omada UISP
UISP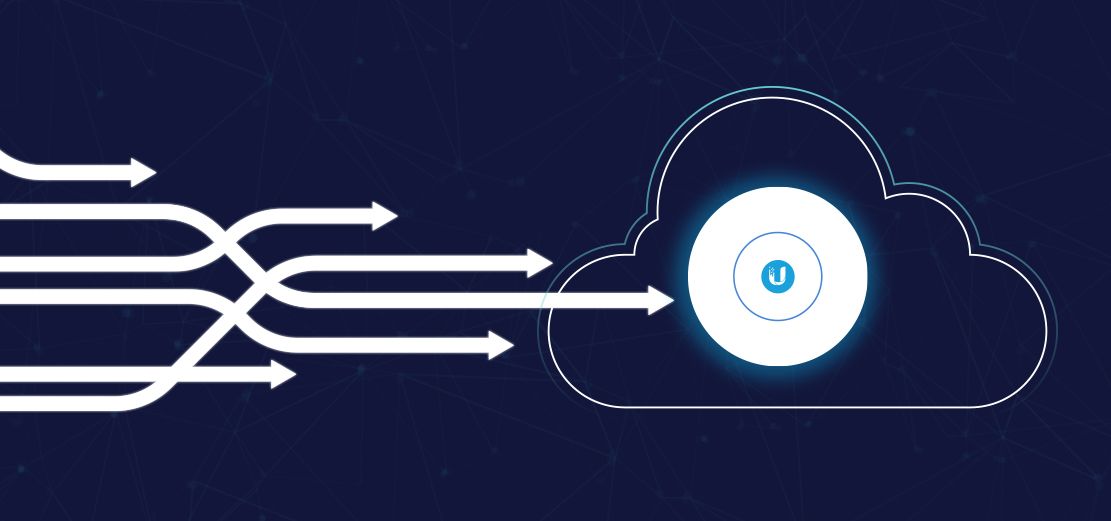
There are several methods through which UniFi devices can be adopted to a Cloud-based controller for Layer 3 (L3) device management. So which is best? In this walkthrough guide we explore the options.
To adopt your device to a Cloud (L3) controller, you will need to follow the set-inform process. This process in-effect informs the device which controller it should be adopted to. Here we detail two methods - single-device SSH adoption, and multi-device site imports.
Single-device SSH adoption
Method 1: For single devices (especially those not already adopted to an existing UniFi controller)
The Single-device SSH adoption method allows for the easy adoption of single devices, especially those that are not already adopting to an existing controller.
Before attempting to adopt the device, ensure that the device is not still adopted to any previous controllers.
To access the device:
To be able to run commands on your UniFi device, you will first need to establish an SSH connection to the device. This will allow you to then check the device information, upgrade the firmware, reset the device, and set the controller URL as the inform target.
The default device password will be ubnt. If you find that that this is not the password, please factory reset the device.
Please note that for certain models of UniFi Security Gateway, you will need to establish a connection to the device with root as the username:
Getting the device info
In order to check that the device information, we will need to run the "info" command. This command will allow you to check the device information.
The device information command (to be run via SSH):
The command will input a series of device information datapoints, for example:
Version: 5.43.38.12731
MAC Address: xx.xx.xx.xx.xx.xx
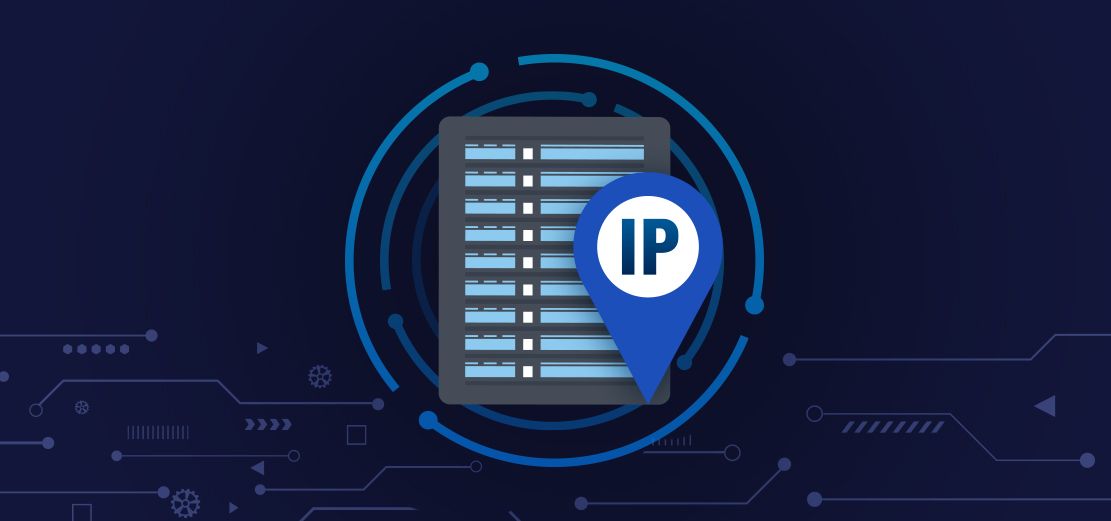
IP Address: 192.168.1.1
Hostname: UAP-AC
Uptime: 60 seconds
Status: Not Adopted (https://demo.hubox.co/inform)
Among other datapoints, the device information will allow you to check the device status, firmware version, and MAC address of the device.
Resetting the device
A hardware reset of the device will reset the device credentials and inform target back to the factory default. It is recommended that you undertake a device reset prior to adoption, as best practice. A hardware reset can also be performed by holding the device reset down for ~20 seconds, following which the device will reboot into factory defaults.
The device reset command:
The device will default, and the device authentication credentials will be reset back to their defaults.
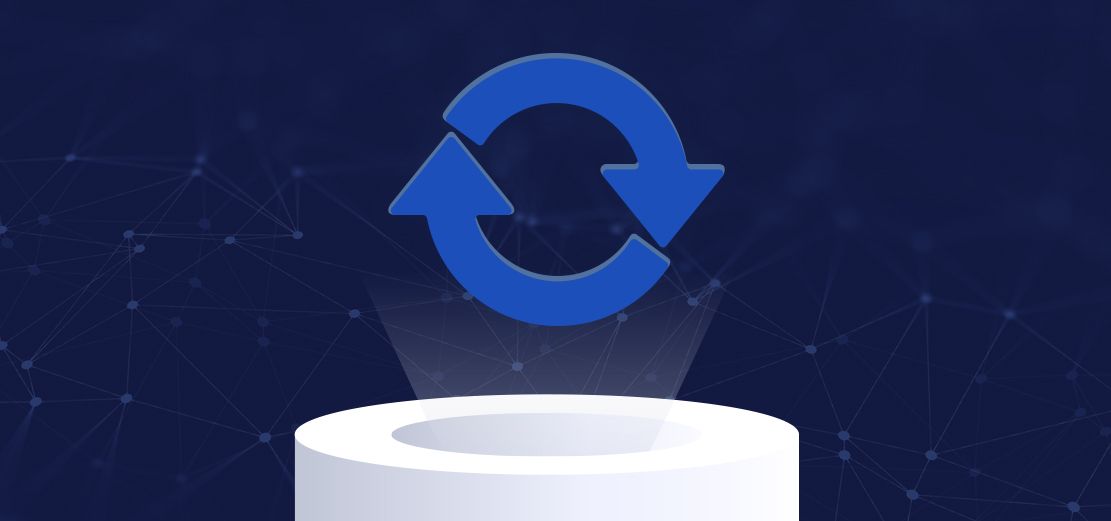
Upgrading the device firmware
If your device is not running the latest available firmware version, it is recommended that you first update the device firmware in order to ensure successful adoption.
The set-inform command:
To find the URL of the relevant .bin file, find the latest firmware for your device at: https://www.ui.com/download/unifi
The set-inform process
The set-inform process is a required step in adopting your devices to the Cloud. By setting the Cloud controller as the inform target on the device, the device is made ready for adoption within the Cloud controller.
The set-inform command:
To illustrate this, if your controller's Access URL is https://demo.hubox.co:
Following the running of the set-inform command, the device will appear in the Devices tab within the controller as Pending Adoption.
Multi-device Site Imports
Method 2: For devices already adopted to an existing UniFi controller
The multi-device site imports method allows for bulk-device migration, migrating the devices from an existing local (L2) or Cloud (L3) controller.
Downloading the migration file
Download the site migration file (.unf) from your previous controller (in the Classic Interface).
Uploading the migration file
Upload the site migration file into the Hubox controller via the Current site drop-down menu.
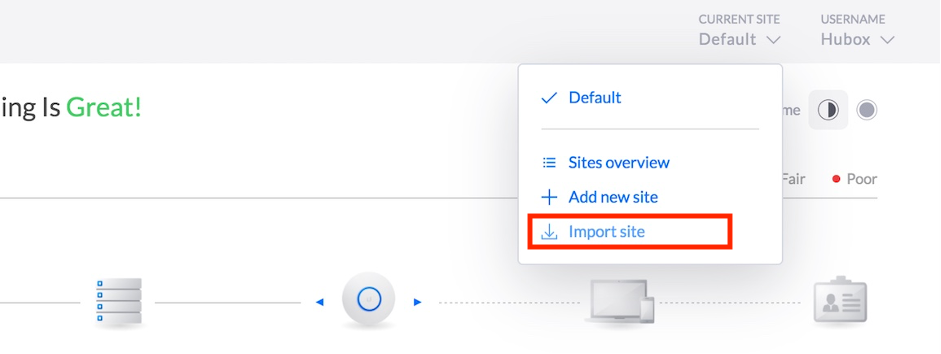
Click Import Site and then upload the site migration file by clicking Choose file.

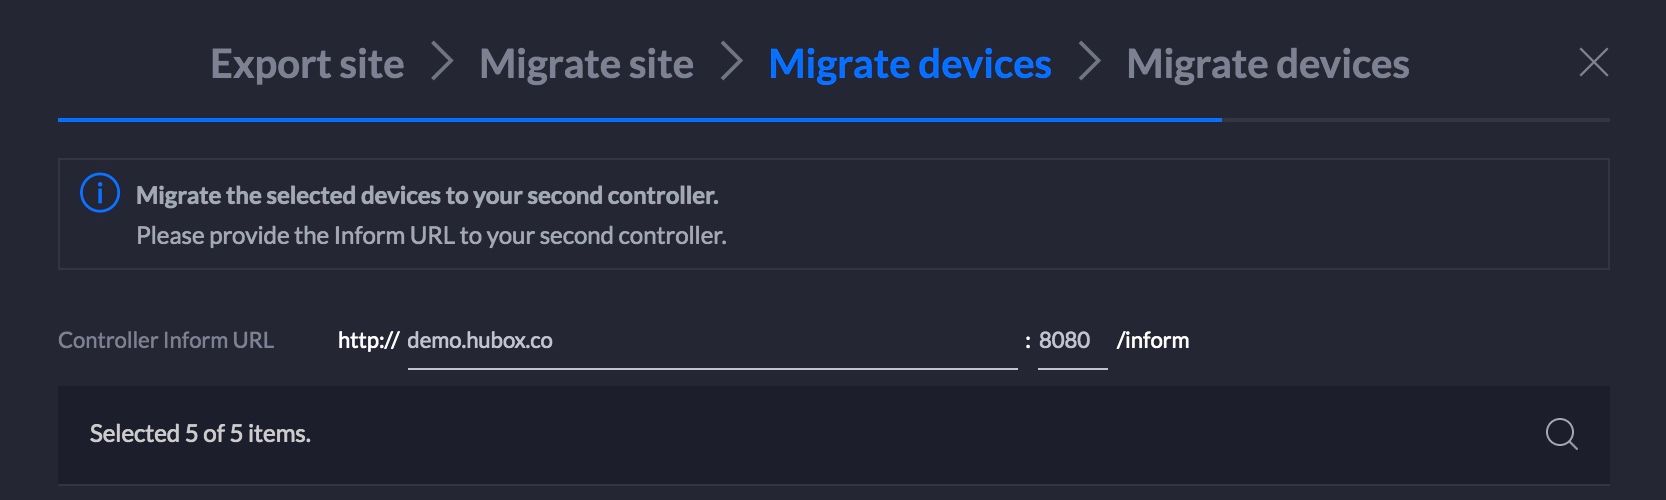
Transferring the devices
Return back to the local controller and complete the rest of the site migration wizard to transfer devices across. Use your Hubox controller’s access URL, in the format below (here we use an access URL of https://demo.hubox.co as an illustrative example).
If you need a Cloud controller for Layer-3 oversight of all your network sites, check out Hubox - a quick way to deploy a ready-to-use UniFi Cloud controller. If you have any questions about this article or require any assistance, please feel welcome to email our support team at [email protected] - or hop into the live chat on our website!